Tag Archives: Object Storage

Veeam Backup Repository / Microsoft Azure Object Storage

Sending Veeam backups to object storage such as Azure Blob has become a hot topic in the last few years. According to Veeam’s quarterly report for the end of 2021, Veeam customers moved over 500 PB of backups just into the top 3 cloud object storage vendors alone.

With many organisations starting to dip their Veeam toes into object storage I thought I would write a bit more about the subject. This blog post is aimed at helping backup administrators who wish to better understand from a Veeam perspective working with public cloud object storage, specifically Azure Blob.

Compared to the traditional NAS or disk-based block storage Object Storage is a completely different shift in how data is stored and accessed. For example, in object storage, it’s intended that files are not modified. In fact, there is no way to modify part of an object’s data and any change requires deletion and replacement of the whole object.

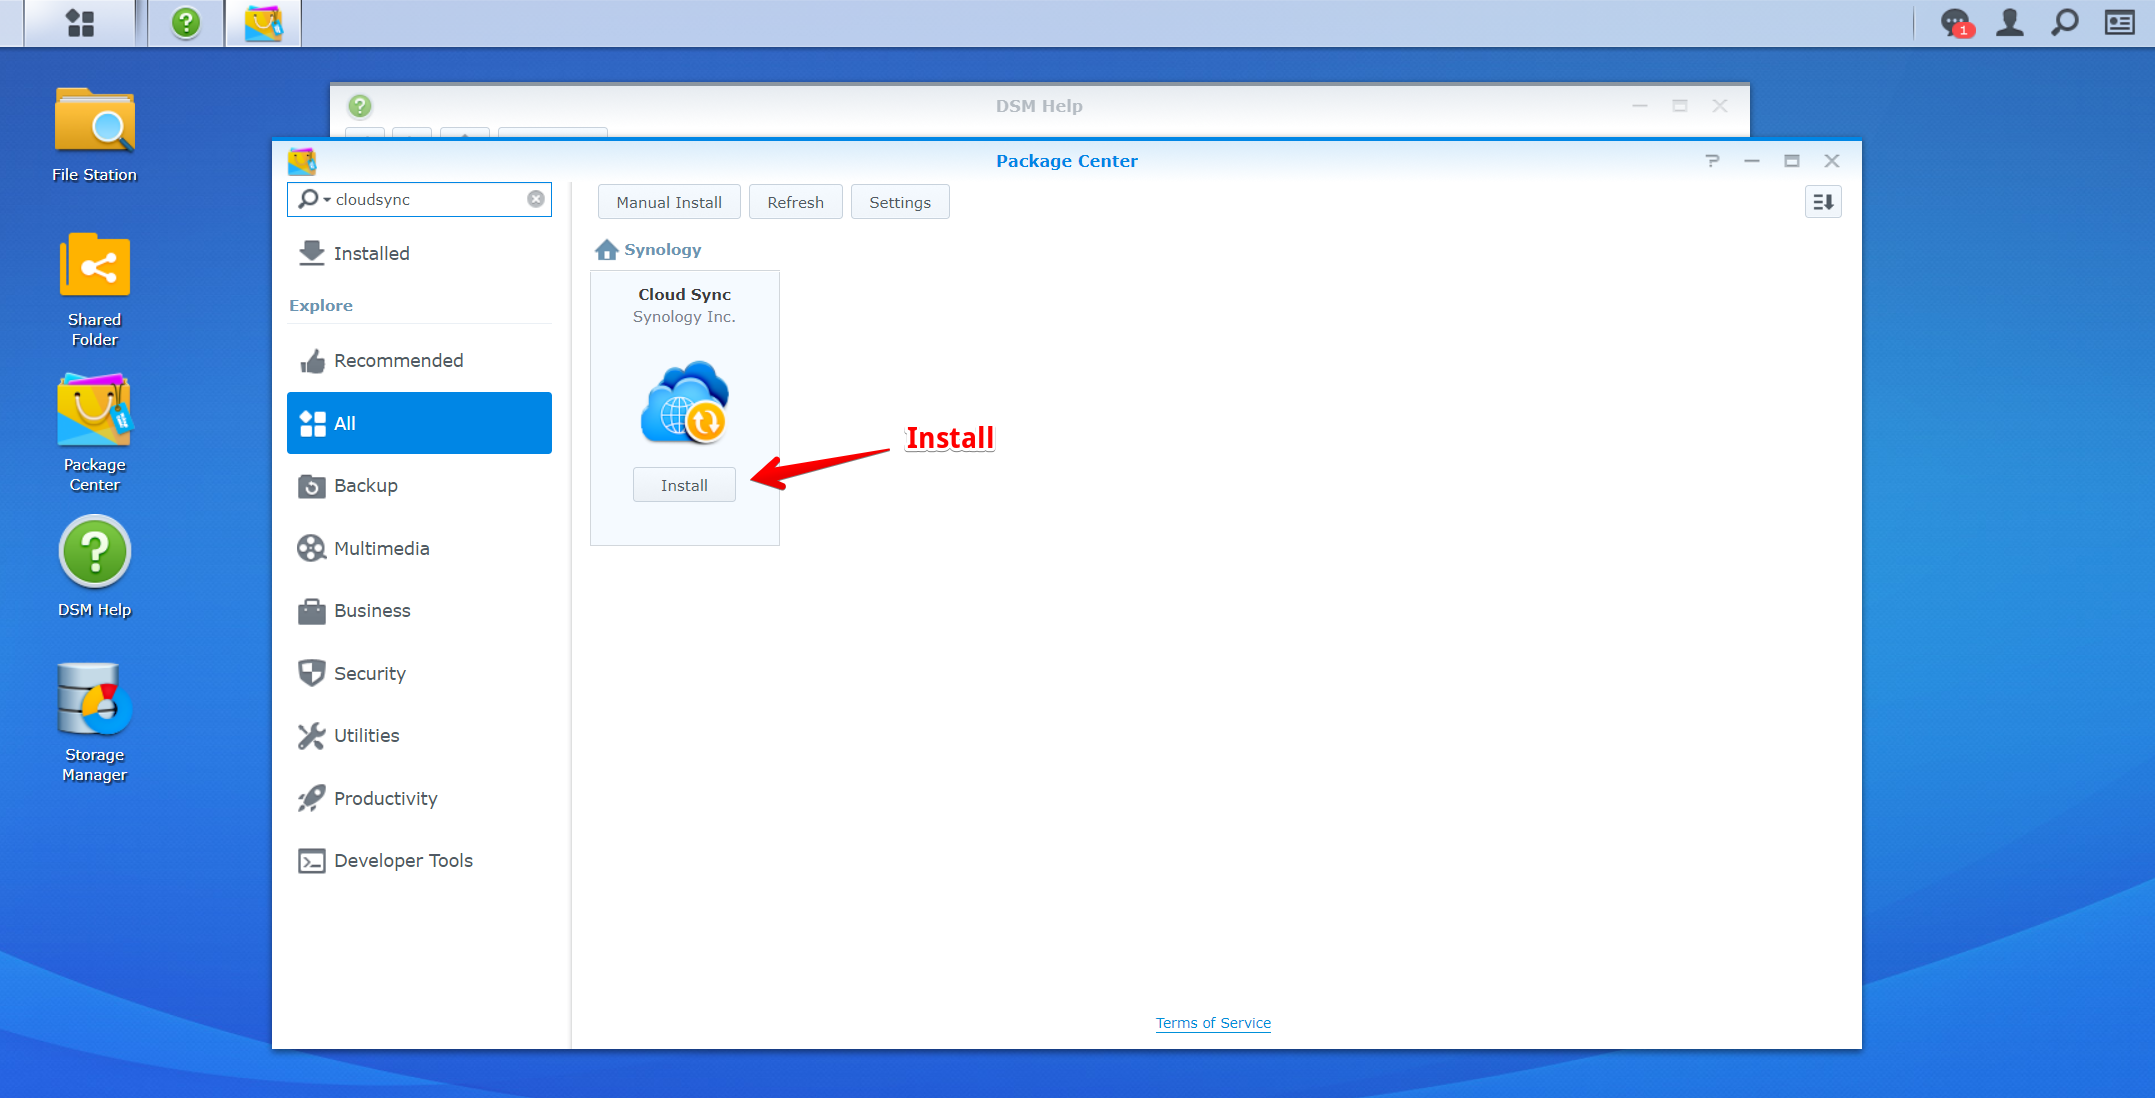
In Azure terminology, objects are stored in a ‘Blob’, which can be thought of as similar to a volume on a disk but far more scalable. Blob storage is a pay-per-use service. Charges are monthly for the amount of data stored, accessing that data, and in the case of cool and archive tiers, a minimum required retention period. In case you haven’t realised, Blob storage is Microsoft’s object storage solution.

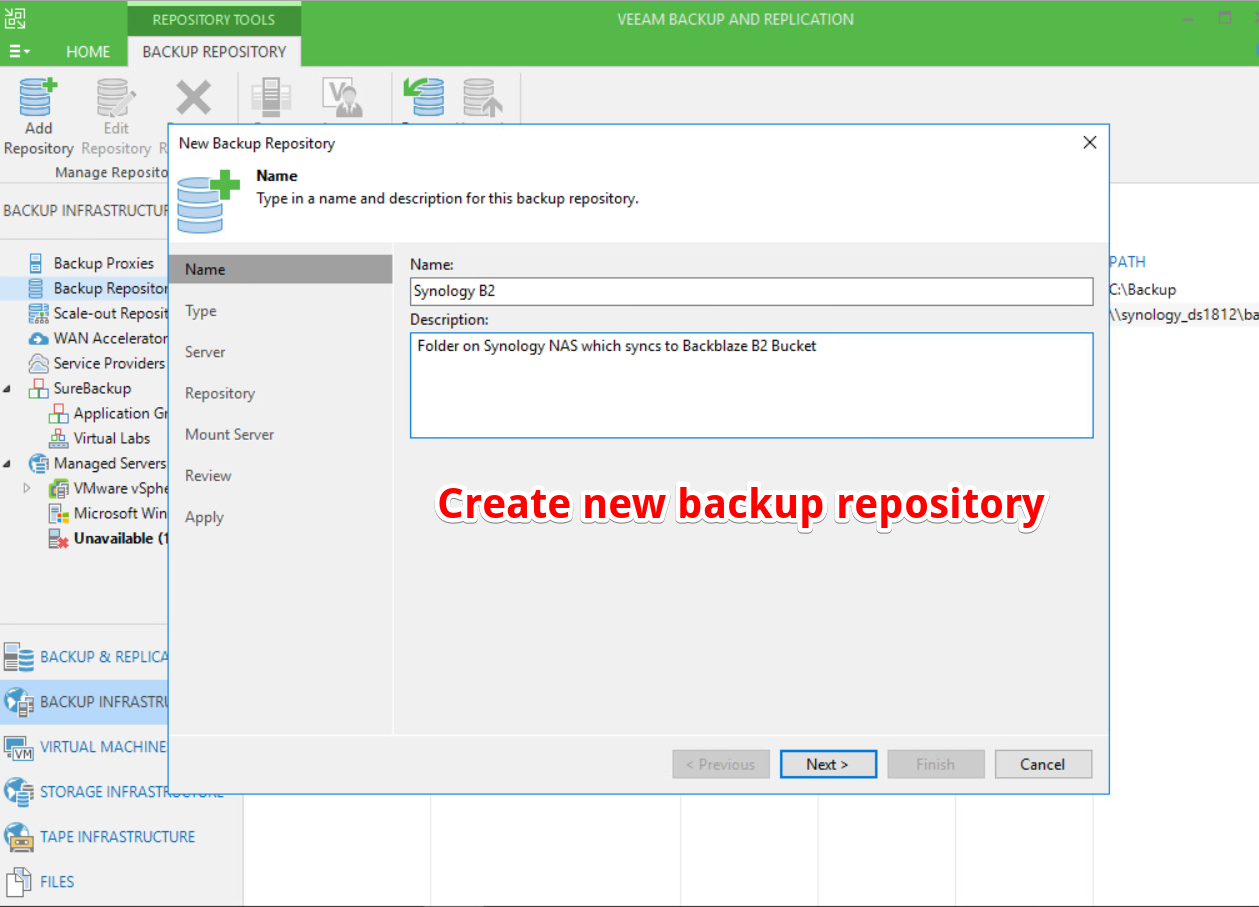
There are numerous methods we can utilise to leverage Microsoft Azure Blob with Veeam Backup & Replication. For example, Azure Blob can be used as an Archive Tier target within a SOBR (Scale-Out Backup Repository) for long-term retention of backups, an archive repository for Veeam NAS Backups and some readers may even be familiar with the external repositories function.

The most popular method is using Blob as a Veeam Capacity Tier which is configurable within a Veeam Scale-Out Backup Repository.

Why is Azure Blob so popular?

Continue reading

WinHttpWriteData: 12002: The operation timed out

I recently experienced a timeout error while offloading backups to a capacity tier (Azure BLOB). It occurred whenever Veeam offloaded large quantities of backup files simultaneously, typically any more than 6 backup files at a time would result in the offload failing.

This was a problem because the automatic SOBR offload process would process 40+ backup files at a time, most of which would fail until only 6 backup files remained in the queue, at this point the 6 remaining backup files would offload successfully. Typically there would be 250 or so backups in the offload queue, Veeam would offload these backup files for an hour until the timeout error occurred, then Veeam would start the next batch of 40 backups files to be offloaded.

Looking at the Veeam offload job logs (located in the main folder of the Veeam server logs, path ‘C:\ProgramData\Veeam\Backup\SOBR Offload’) we could see the following,

task example
[18.08.2019 11:21:23] <176> Info – – – – Response: Archive Backup Chain: b14e8dd9-2351-4236-bd54-a08339859d49_40f33f92-ca5a-45ac-a2ec-d674efd0383d
[18.08.2019 12:57:26] <844> Error AP error: WinHttpWriteData: 12002: The operation timed out
[18.08.2019 12:57:26] <844> Error –tr:Write task completion error
[18.08.2019 12:57:26] <844> Error Shared memory connection was closed

Continue reading

Veeam Cloud Tier

What happened to Archive Tier?

Archive Tier was announced back at VeeamON 2017 New Orleans alongside a raft of new features scheduled for release with Veeam Backup & Replication v10.  Archive Tier would enable Veeam administrators to easily add regular disk-based backup repositories, object-based storage repositories or even tape as an archive extent to a SOBR (Scale-Out Backup Repository) which could then be configured to copy any backup or move sealed backup files from the SOBR across to said archive extent.

The ability to archive backup files to a particular archive extent such as tape or cheaper disk was a great addition, but the significant improvement was the native integration with object storage which has been a highly requested feature for several years now. During VeeamON it was announced that AWS S3, AWS Glacier, Azure BLOB and Swift compatible object storage to be supported.

Copying Veeam backup files to object storage has always been possible through the use of third-party vendor storage gateways, such as the AWS Storage Gateway or Azure StoreSimple but speaking from my own experiences, these tools don’t always deliver what they promise and require additional skills to support.

Continue reading

Veeam and Backblaze B2 – Introduction

Contents

Introduction
Phase 1 – Create the Backblaze B2 Bucket
Phase 2 – Install and Configure Synology CloudSync
Phase 3 – Configure Veeam Backup Repository
Phase 4 – Create the Veeam Backup Job
Phase 5 – Testing and Tuning
Summary

Introduction

B2 Cloud Storage is an object storage service offered by Backblaze that enables users and organisations to upload files to their heart’s content billed on a per monthly basis using a pay for what you consume model. Backblaze has evolved this object storage service ‘B2’ out of the already successful $5 a month unlimited backup plan which was built from the ground up using Storage Pods. Storage pods are designed in-house by Backblaze, leveraging consumer grade hardware and hard drives in a purpose-built chassis designed to minimise costs, reduce footprint and yield the best dollar per GB possible. For example, using 4TB drives, they can achieve a cost per GB as low as $0.036.

These Backblaze pods, which are now up to revision 6, are literally filled to the brim with hard drives, over 60 of them in fact in a 4U chassis. I recommend that you go and check out more on these awesome units here.

So, Backblaze takes these Storage Pods a step further for B2, by grouping 20 at a time into a Backblaze Vault it enables them to optimise reliability and durability of the entire system.

Continue reading

Veeam & Backblaze B2 – Install and Configure Synology CloudSync

Phase 2 – Install and Configure Synology CloudSync
Ok, we have created a B2 bucket and we are now ready to configure our Synology NAS.
Now, in my case, I am just reusing a previously configured shared folder which is fine for my homelab testing so I’ll be going straight into installing and configuring CloudSync with B2. However, it is recommended to create a new shared folder dedicated for storing Veeam backup files and lock it down with authentication anytime you are deploying into production.
REMEMBER: It is important to size your volume correctly so that it can handle your retention policy capacity and performance requirements.
So let’s get started, first we need to install the Synology CloudSync Package, this will allow integration with Backblaze B2. During the installation, it will ask where you would like the packaged to be installed, I just picked ‘volume 1’ as that is where my other packages have also been installed.
 

Continue reading

Veeam and Backblaze B2 – Summary

Summary
So Backblaze B2 Cloud Storage, in a nutshell, it works similar to Amazon S3 or Microsoft Azure, allowing us to store vast quantities of data in the cloud but does it for 1/4th the cost of your typical object storage provider.

Because B2 doesn’t include any client software to interface with any time we access the storage we need to use either the web GUI, API or CLI. In the case of Veeam, this means we need to rely on a ‘cloud gateway’ which there are several options available that are compatible with B2, in this particular article, I have explored configuring a Synology DS1812 with the CloudSync package.

Continue reading

Veeam and Backblaze B2 – Create the Veeam Backup Job

Phase 4 – Create the Veeam Backup  Job
Now when designing our Veeam backup job settings there are a couple considerations.
  1. Ideally, we want to minimise the amount data that needs to be uploaded to our B2 buckets because we are charged per GB each month & upload bandwidth is typically our biggest bottleneck.
  2. We can’t leverage Veeam built-in WAN accelerators since there is no compute available at the object storage ‘B2’ side
  3. Veeam currently does not have native integration with object storage so we need to rely on ‘cloud gateway’ devices such as Synology CloudSync.
  4. Both Synology CloudSync and Backblaze B2 offer no data deduplication, meaning if we create several full Veeam backups files to our Synology CloudSync backup repository, each Veeam full backup file will be uploaded, in full. This is in contrast to other solutions such as Microsoft StorSimple which leverages a ‘volume-container’ global block-level dedupe which means even if Veeam sends multiple full backups files to a backup repository, the StorSimple will only upload changed/unique blocks due to its block-level dedupe capability.
  5. The Synology CloudSync package is not aware of when the Veeam backup files are being created/modified by Veeam, this can result in files being uploaded before Veeam has finished, this happens a lot with .VBM files.
  6. Veeam features such as Storage-Level Corruption Guard and Defrag/Compacting the full backup file should be avoided as this results in a new full backup file being created.

With the above in mind, we need to decide whether we should configure backup job (primary backup target) or a backup copy job (secondary backup target).

Continue reading

Veeam and Backblaze B2 – Create the Backblaze B2 Bucket

Phase 1 – Create the Backblaze B2 Bucket

Ok, to get started we need to know that storage for a Backblaze B2 account is grouped into buckets. Each bucket is a container that holds files. We can think of buckets as the top-level folders in our B2 Cloud Storage account. There is no limit to the number of files in a bucket, but there is a limit of 100 buckets per account.

So I’m going to assume that you have already created a Backblaze account and are ready to start creating B2 buckets. In my case, I had already created an existing bucket for another test (which I have blurred out) but I will be creating a new bucket specifically for our Veeam backup files.

Let’s begin, first, we need to open up the Backblaze web portal and signing into our account.
Once signed in we need to create a bucket.

Create B2 Bucket

Continue reading

Veeam and Backblaze B2 – Configure Veeam Backup Repository

Phase 3 – Configure Veeam Backup Repository 
Now the fun part, configuring the Veeam Backup Repository.
I’m going to assume this is an existing Veeam Backup & Replication server that has already been configured for the most part. So to begin, we need to open up the Veeam Backup & Replication console and create a new Veeam backup repository. I’ve given mine the name ‘Synology B2’ but I recommend you enter a description that is fit for purpose.
Because our Synology CloudSync is configured to use an SMB shared folder, we will be configuring a ‘Shared folder’ Veeam Repository.
Type in the UNC path of our SMB share, be sure to use to define the same folder that we configured CloudSync to use. In my case, my shared folder does not require any credentials but for any production environment, I strongly recommend you lock down the share with credentials. The risk of accidental or even malicious file deletion is a real risk and steps should be taken to minimise the likelihood of it happening.
Clicking next we are greeted with load control and advanced options, I’m happy to leave the load control as default but for a production environment we should size the concurrent tasks in line with Veeam Best Practices. Note:  https://rhyshammond.com/max-concurrent-tasks-veeam-br/
There a couple options we should consider changing on the Veeam Backup Repository to help improve performance and reliability especially considering we are leveraging Synology CloudSync to upload Veeam backup files into B2.
  • We don’t  need to enable ‘Align backup file data blocks’  as my Synology is not configured to perform de-duplication (I don’t believe it is even capable of such a feature)
  • We don’t need to enable ‘Decompress backup data blocks before storing’ as again, my Synology is not configured to perform de-duplication.
  • We enable ‘Use per-VM backup files’ because, without it, backup jobs that contained multiple VMs would result in a single large backup file. By enabling this option, it splits the VMs out into their own backup file. This is important as it makes uploading and download backups much more manageable.
Next, we need to choose a mount server, in my homelabs I have left this as default but considerations should be made if this is for production. Ideally, it would be a Veeam proxy that has a good connection to the repository.
Review and finish adding the SMB Synology Shared Folder.
We have created a bucket in Backblaze B2 and we are now ready to proceed to Phase 4.