Something that all Veeam administrators should consider is how secure the underlying servers running your Veeam software really are. To help improve security I always try and run through a few recommendations with each Veeam administrator I work with,
- Inbound connectivity to backup servers from the Internet must not be allowed (3389 anyone?)
- Any accounts used for RDP access must not have Local Administrator privileges on jump servers, and you must never use the saved credentials functionality for RDP access or any other remote console connections.
- Ensure timely guest OS updates on backup infrastructure servers
A good resource for keeping up to date on Veeam security recommendations is here. I like to check it out every 3-6 months to ensure I’m still making the right recommendations to my customers.
One other thing I like to recommend in addition to the best practices above is enabling 2FA (Two-Factor Authentication) for all login sessions to underlying servers running Veeam components such as the VBR server, proxies and especially repositories. With 2FA, even if an attacker illegally acquires the correct username and password, the attacker is also required to gain access to the device used to receive the 2FA verification code. Often this device is a mobile phone or a security token which can easily be disabled if lost or stolen.
It must be noted that 2FA for Veeam consoles is currently not possible (it is a heavily requested feature though) and even with 2FA for login sessions into any Veeam servers there is still a risk that an attacker can access Veeam infrastructure via a Veeam Console running from another machine. This is why off-site/offline backups are so so critical in today’s world of ransomware. Leveraging Veeam Cloud Connect Backup with it’s Insider Protection feature is a great way to easily protect against this kind of risk.
This post will go into detail on how to quickly and easily and enable 2FA for RDP and local logon sessions connecting to your Veeam server.
In this article, we’ll be leveraging Duo, a robust two-factor authentication provider that can be added to not only our Veeam servers but also VPN, email, web portal, cloud services, and more. After Duo has been successfully configured, any user simply approves a secondary authentication request pushed to a Duo Mobile smartphone app. Users can also authenticate by answering a phone call or by entering a one-time passcode generated by the Duo Mobile app, a compatible hardware token, or received via SMS.
The great thing about Duo is that is free for the first 10 users which will be sufficient for most small to medium Veeam environments.

The general overview of what need we need to complete are as follows;
- Download the mobile app (via Apple App Store or Google Play) – Use the “push” feature to authenticate into our admin account.
- Protect an application – Choose your first application to protect to protect using the Duo Admin Panel.
- Enroll our first end user – Add a user and device manually, or consider other options, like self-enrollment.
Some important notes
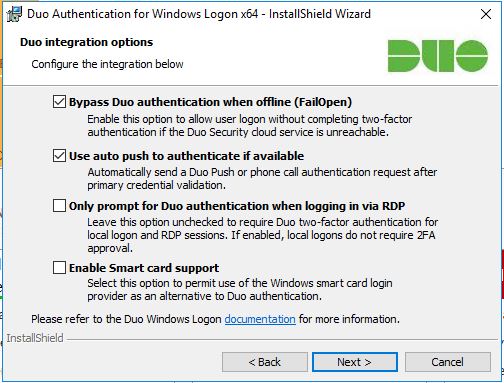
- Installing Duo Authentication for Windows Logon adds two-factor authentication to all Windows login attempts, whether via a local console or over RDP, unless you select the “Only prompt for Duo authentication when logging in via RDP” option in the installer. If two-factor is enabled for both RDP and console logons, it may be bypassed by restarting Windows into Safe Mode (e.g. in case of a configuration error). If you wish to protect local console logons with Duo, please see the Duo FAQ for some guidance on securing your Windows installation appropriately.
- Duo Authentication for Windows Logon doesn’t support inline self-service enrollment. Dup recommend using bulk enrollment to send your users unique self-enrollment links via email. Read the enrollment documentation to learn more.
- Additional configuration may be required to log in using a Microsoft attached account. See Can I Use Duo with a Microsoft Account? for more information.
- Windows users must have passwords to log in to the computer. Users with blank passwords may not login after Duo Authentication installation.
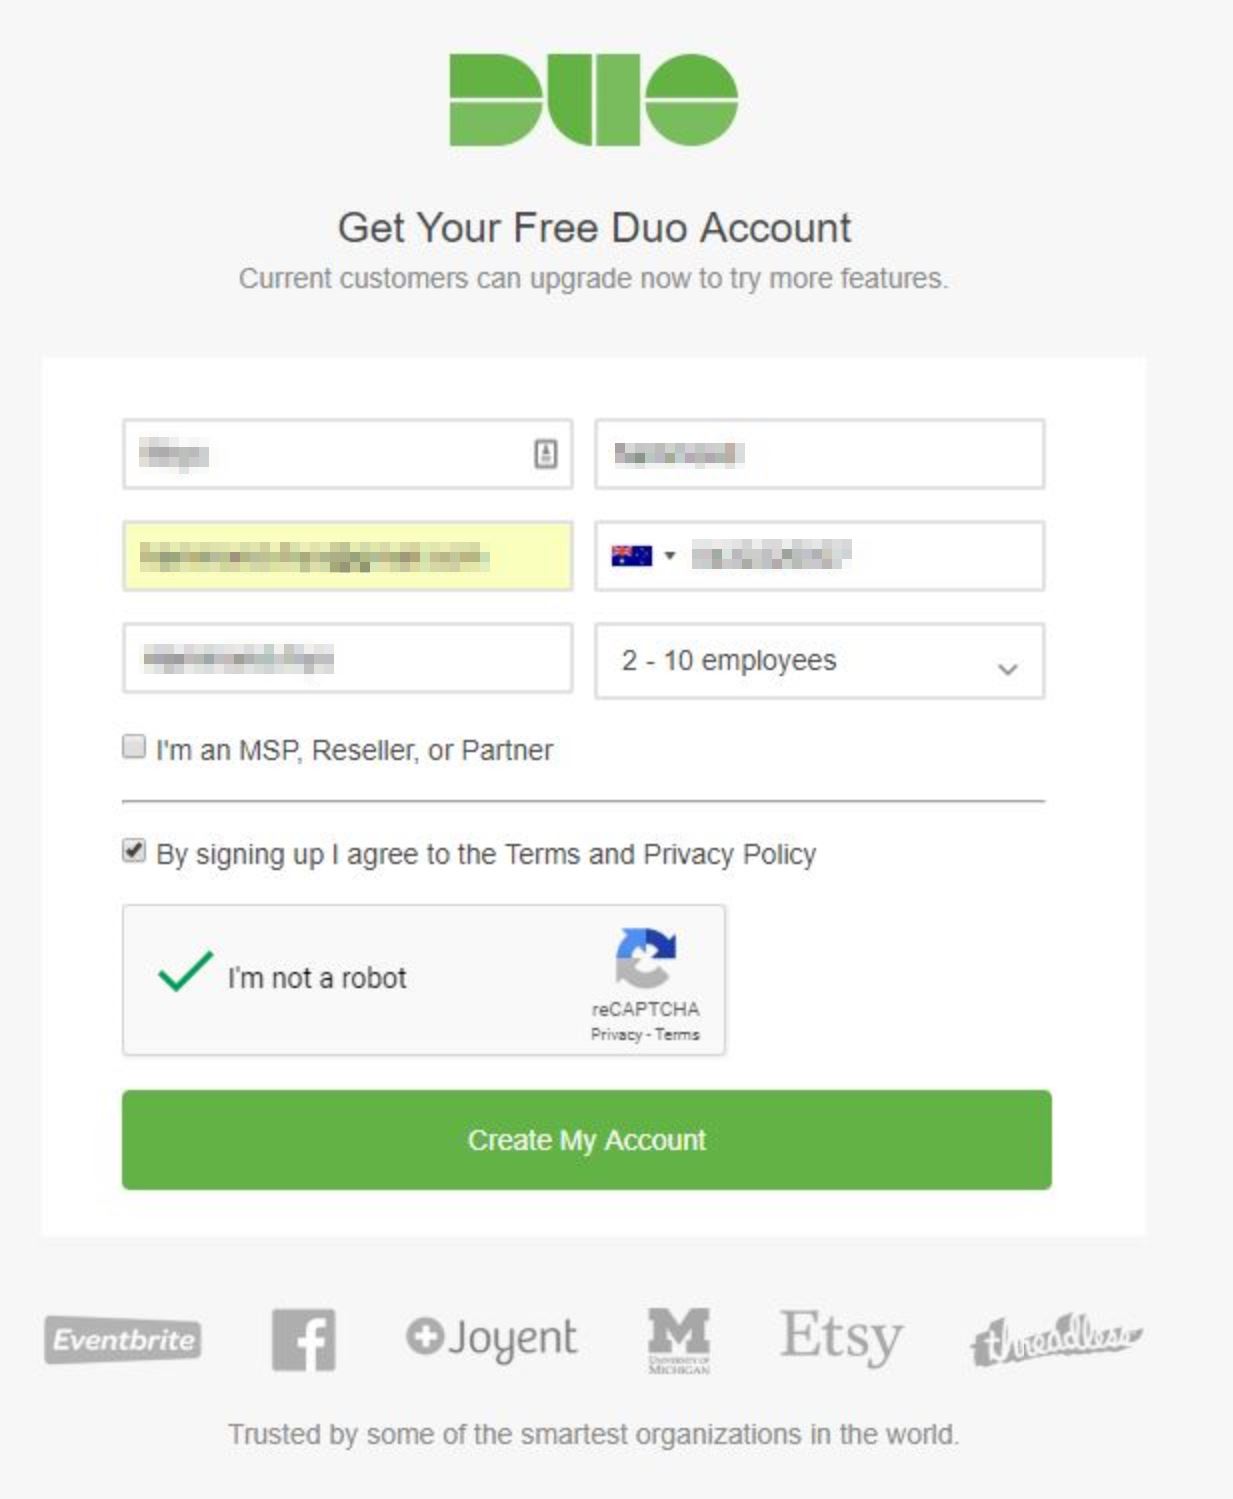
To get started we first must create a Duo account at https://signup.duo.com/, during this first step we are prompted to provide our name, email address, a phone number, company/account name and the size of the organisation. Since I was using this in my home lab I’ve selected 2-10 employees.
At the next step, we are prompted to create a password for the account that will be registered using the email address provided in the earlier step.

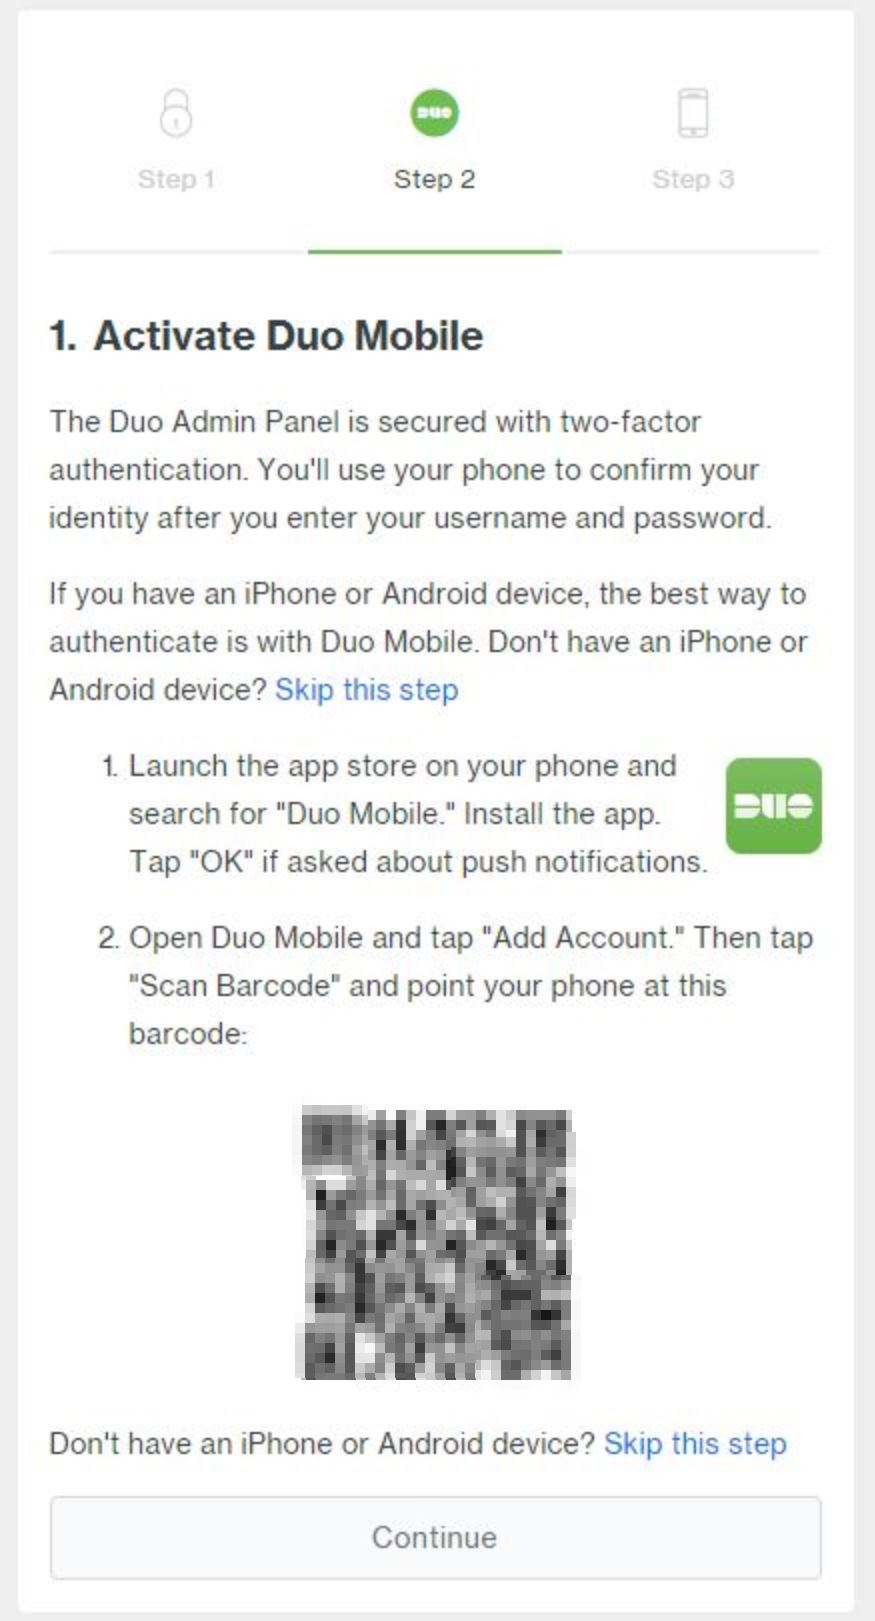
Next, the account registration process is going to display a QR code and prompt us to activate Duo Mobile, this is done by installing an app on a mobile phone.
To install the app we need to launch the app store and search for “Duo Mobile.” Alternatively, click on your respective marketplace below.
After the app has been installed and opened we are prompted to either “Get started” or “Get my account back”, in this case, we want to select the first option which will then allows us to scan that QR code displaying on the Duo account creation page.
Next, we need to provide a backup verification method. Duo recommend providing a mobile phone, not an office landline.

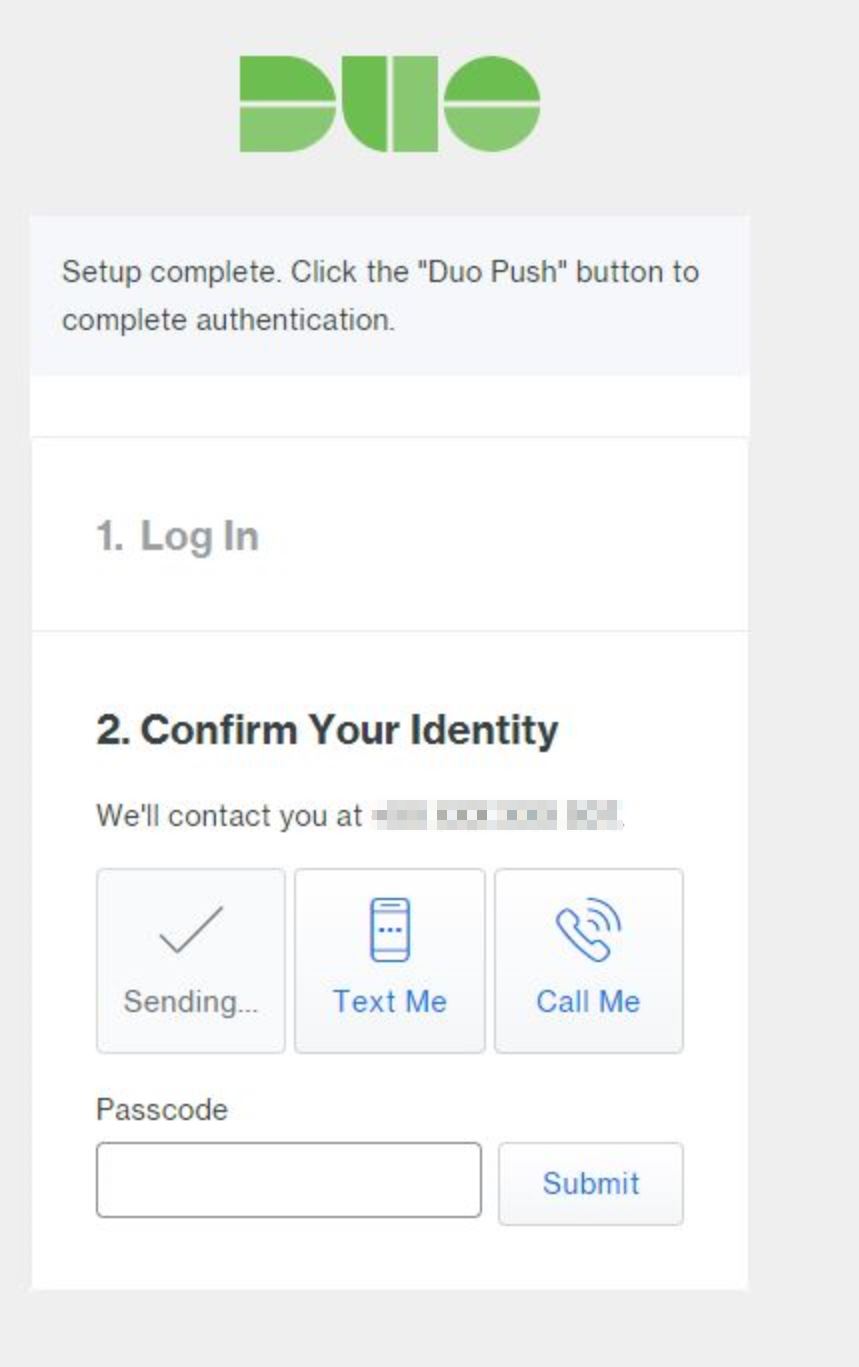
At this stage, our Duo account requires authentication to verify our identity. We can choose ‘Duo Push’ which will use the Duo Mobile app recently installed on our phone to complete authentication.
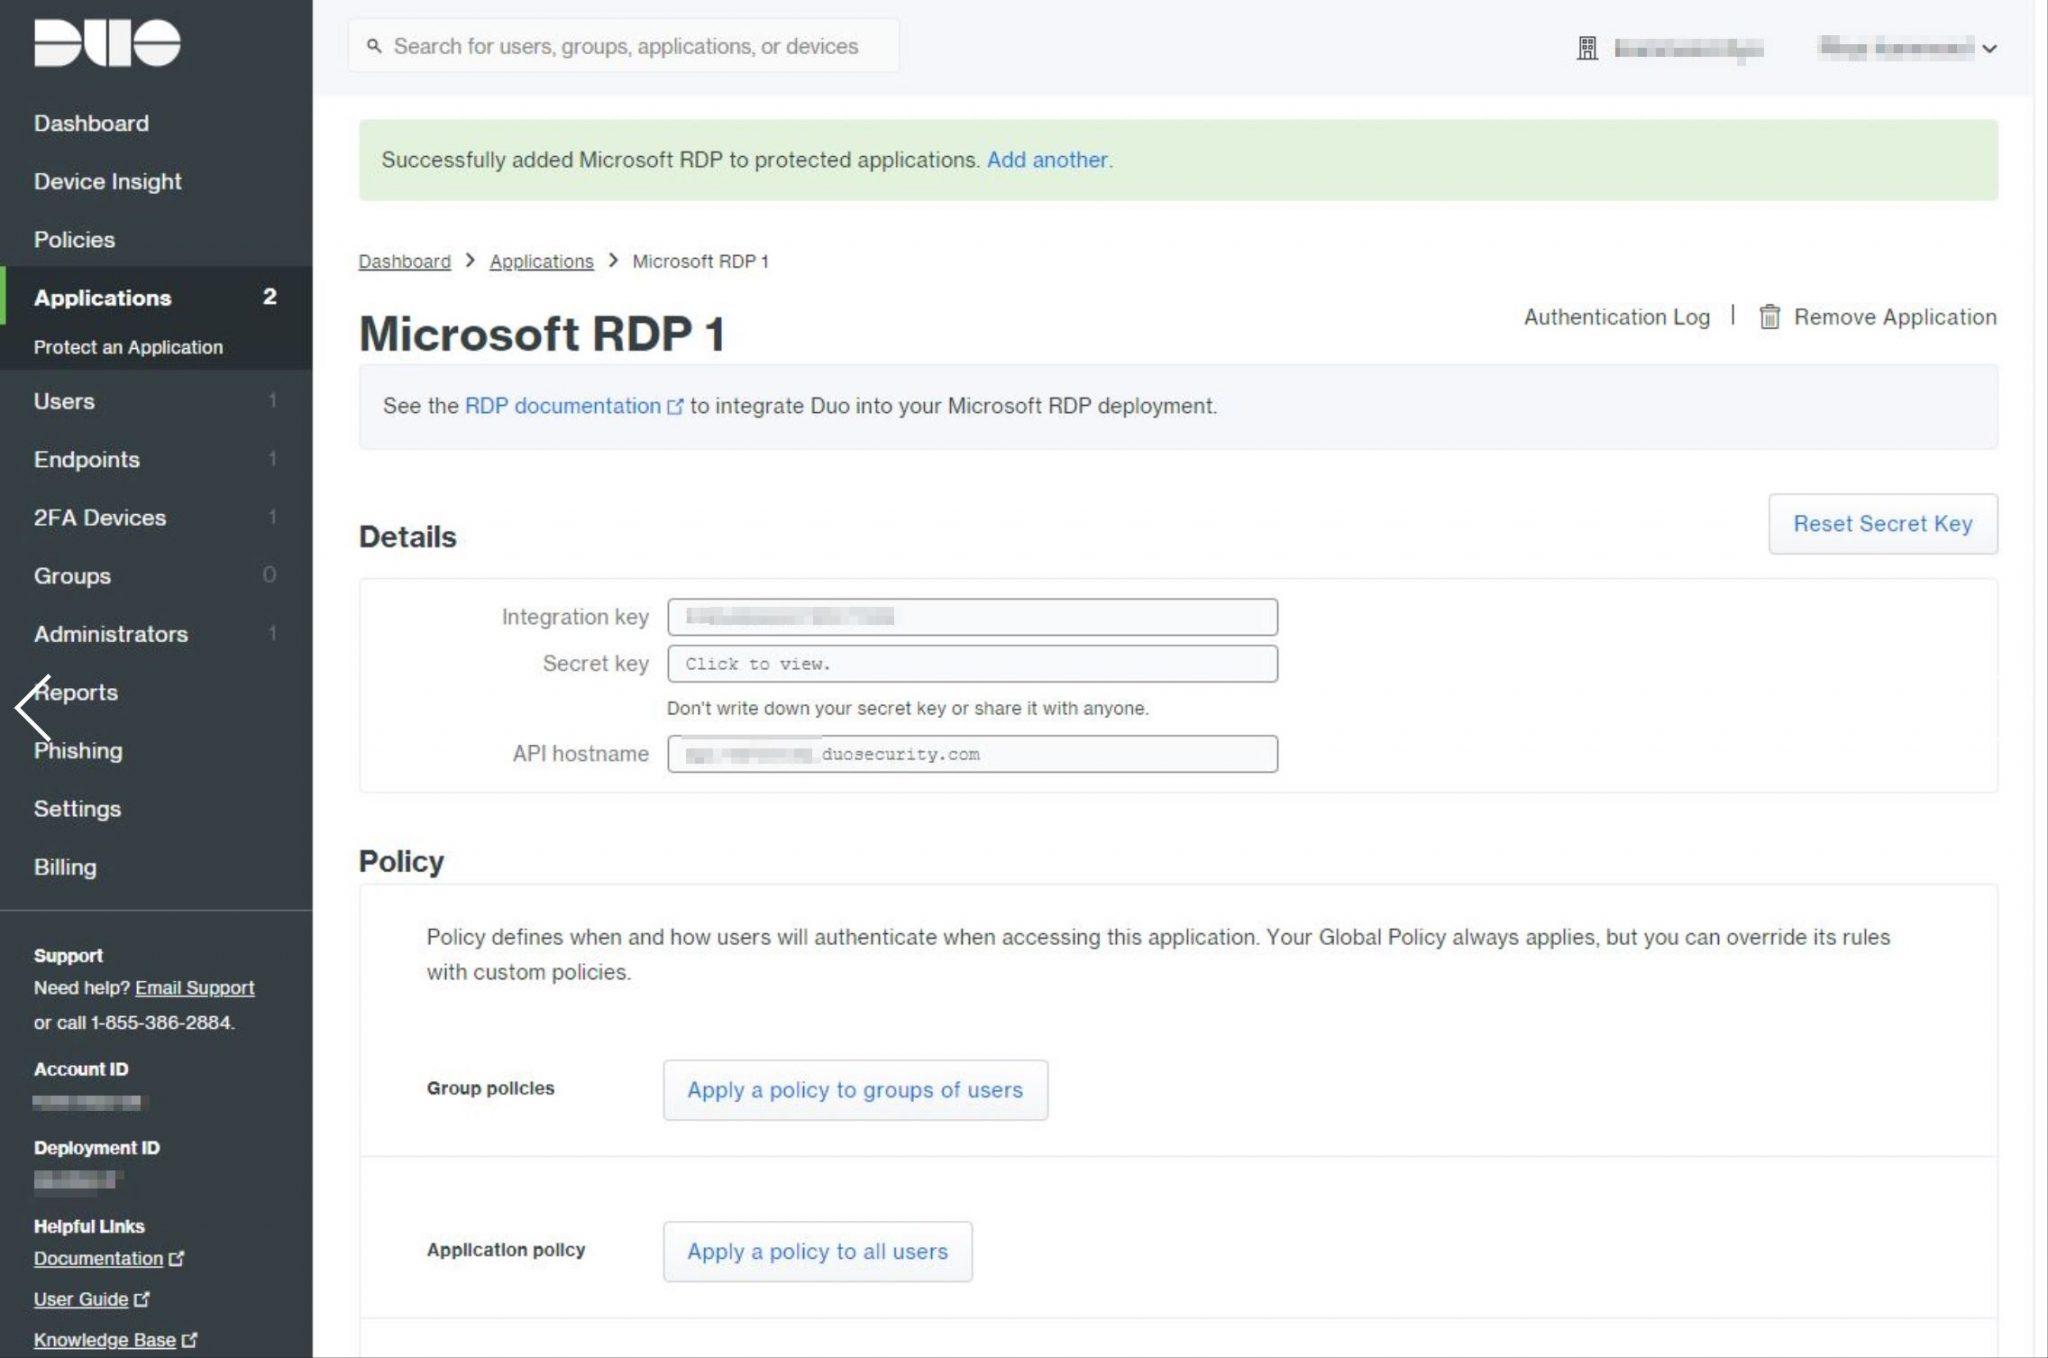
After completing authentication we are taken into the Duo Admin console, here we want to expand ‘Applications’ on the left-hand navigation pane and click ‘Protect an Application’. In the search field, we type ‘Microsoft RDP’, we should see a single result for Microsoft RDP. Click ‘Protect this Application’ to proceed.

The next screen that appears states that Duo has ‘Successfully added Microsoft RDP to protected applications‘. Here we want to take note of three important values, they are as follows;
- Integration key
- Secret key
- API Hostname
We need these values when installing the ‘Duo Authentication for Windows Logon’ application onto our Veeam server later on so don’t close this page yet.
Important Note: Before proceeding, if possible, take a snapshot of the Veeam server and ensure the veeam configuration backup completed successfully recently. We’re about to enable 2FA on the server and by the very nature of how 2FA works, if it’s configured incorrectly you will be denied when attempting to log into the server. 2FA may be bypassed by restarting Windows into Safe Mode.
To continue with deployment we need to download the ‘Duo Authentication for Windows Logon’ Installer Package which will be installed onto our Veeam server. To download the installer click here. Once the first server is configured we can add more servers in the Duo console admin page, I recommend adding 2FA for at least any windows backup repositories. Once we have downloaded the installer package we want to start the installation on the Veeam server to enable 2FA authentication during logon.

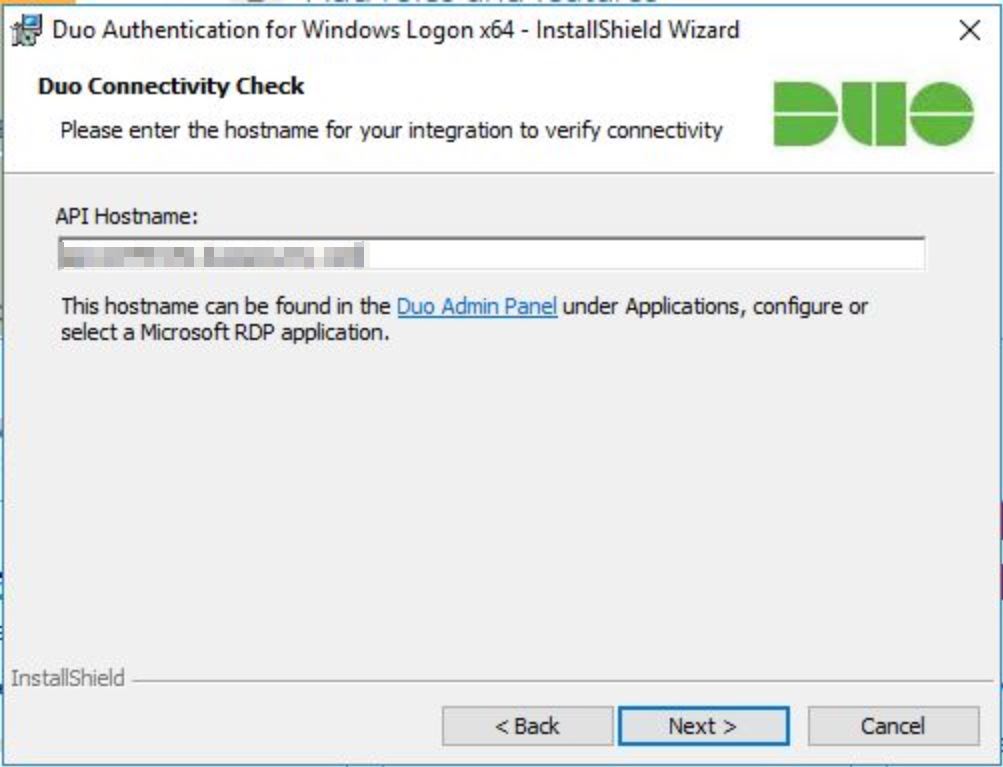
The first thing the installer requires us to enter is the API hostname which can be found in the Duo Admin Panel under Applications, configure or Select a Microsoft RDP application.
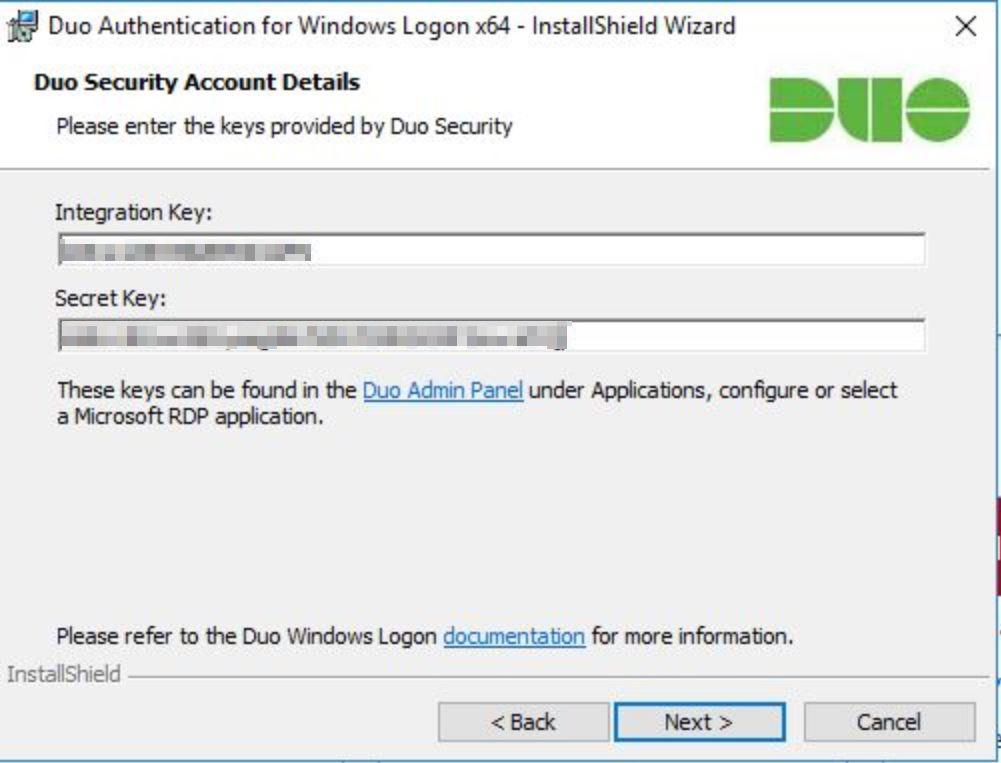
Next, we provide the integration key and secret key,
After providing the integration and secret key, we are prompted to confirm a few options. I just left these on defaults.
Click install, this should only take a few minutes.

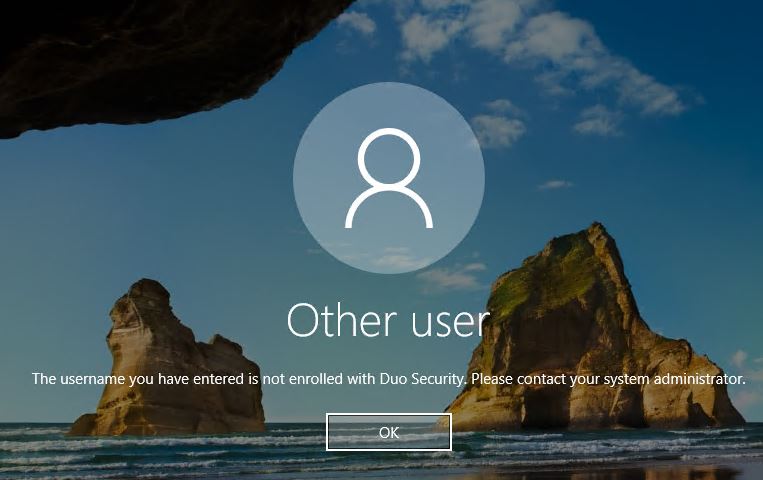
Once installed, the next time someone RDPs into the VBR server they will be prompted to authenticate via Duo, be mindful that until the user’s account has been configured in Duo they will see this error message though.
To add our first user to Duo, we first need to either manually enrol or use bulk enrollment. Since I don’t have an Active Directory in my home lab I’ll be using the manual method.
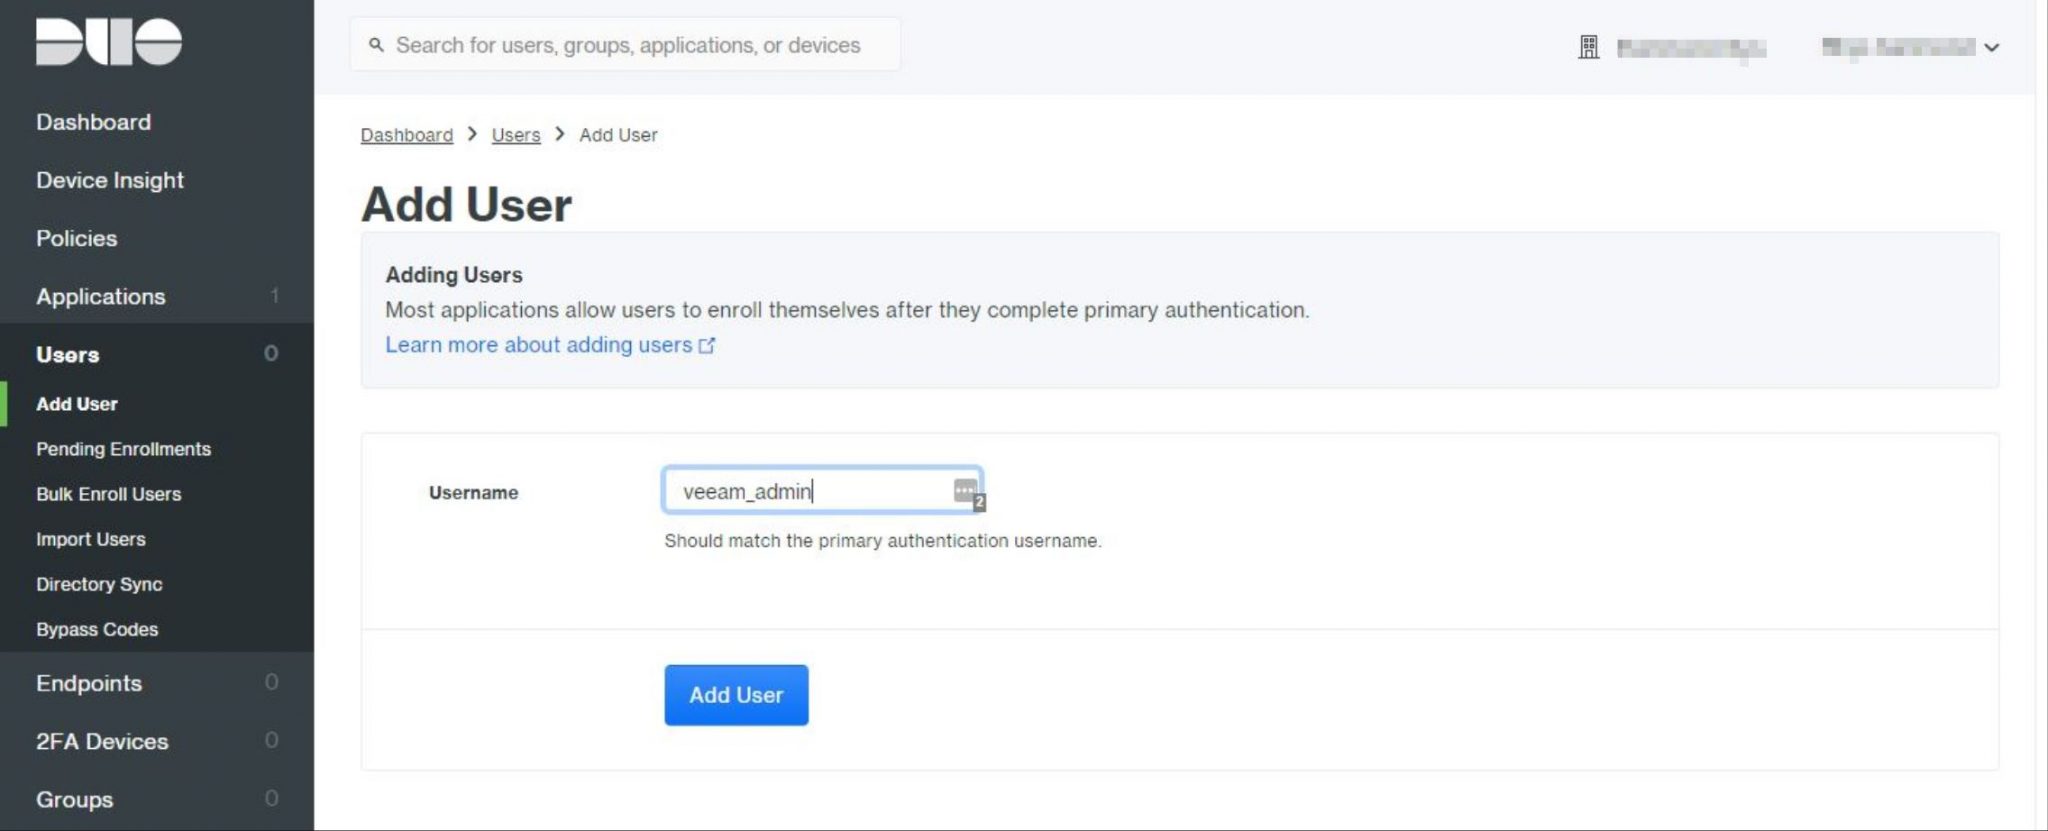
From the Duo Admin Console, on the left-hand navigation pane, we click ‘Add User.

Note: The username must match our Windows logon name otherwise the user will fail to login. In my case, my local administrator account has been renamed to ‘veeam_admin’ so this is the username I’ll need to enter.
In the next step, we need to specify an email address for our user. We can also specify a username alias and whether 2FA is active, bypassed or access is disabled altogether.
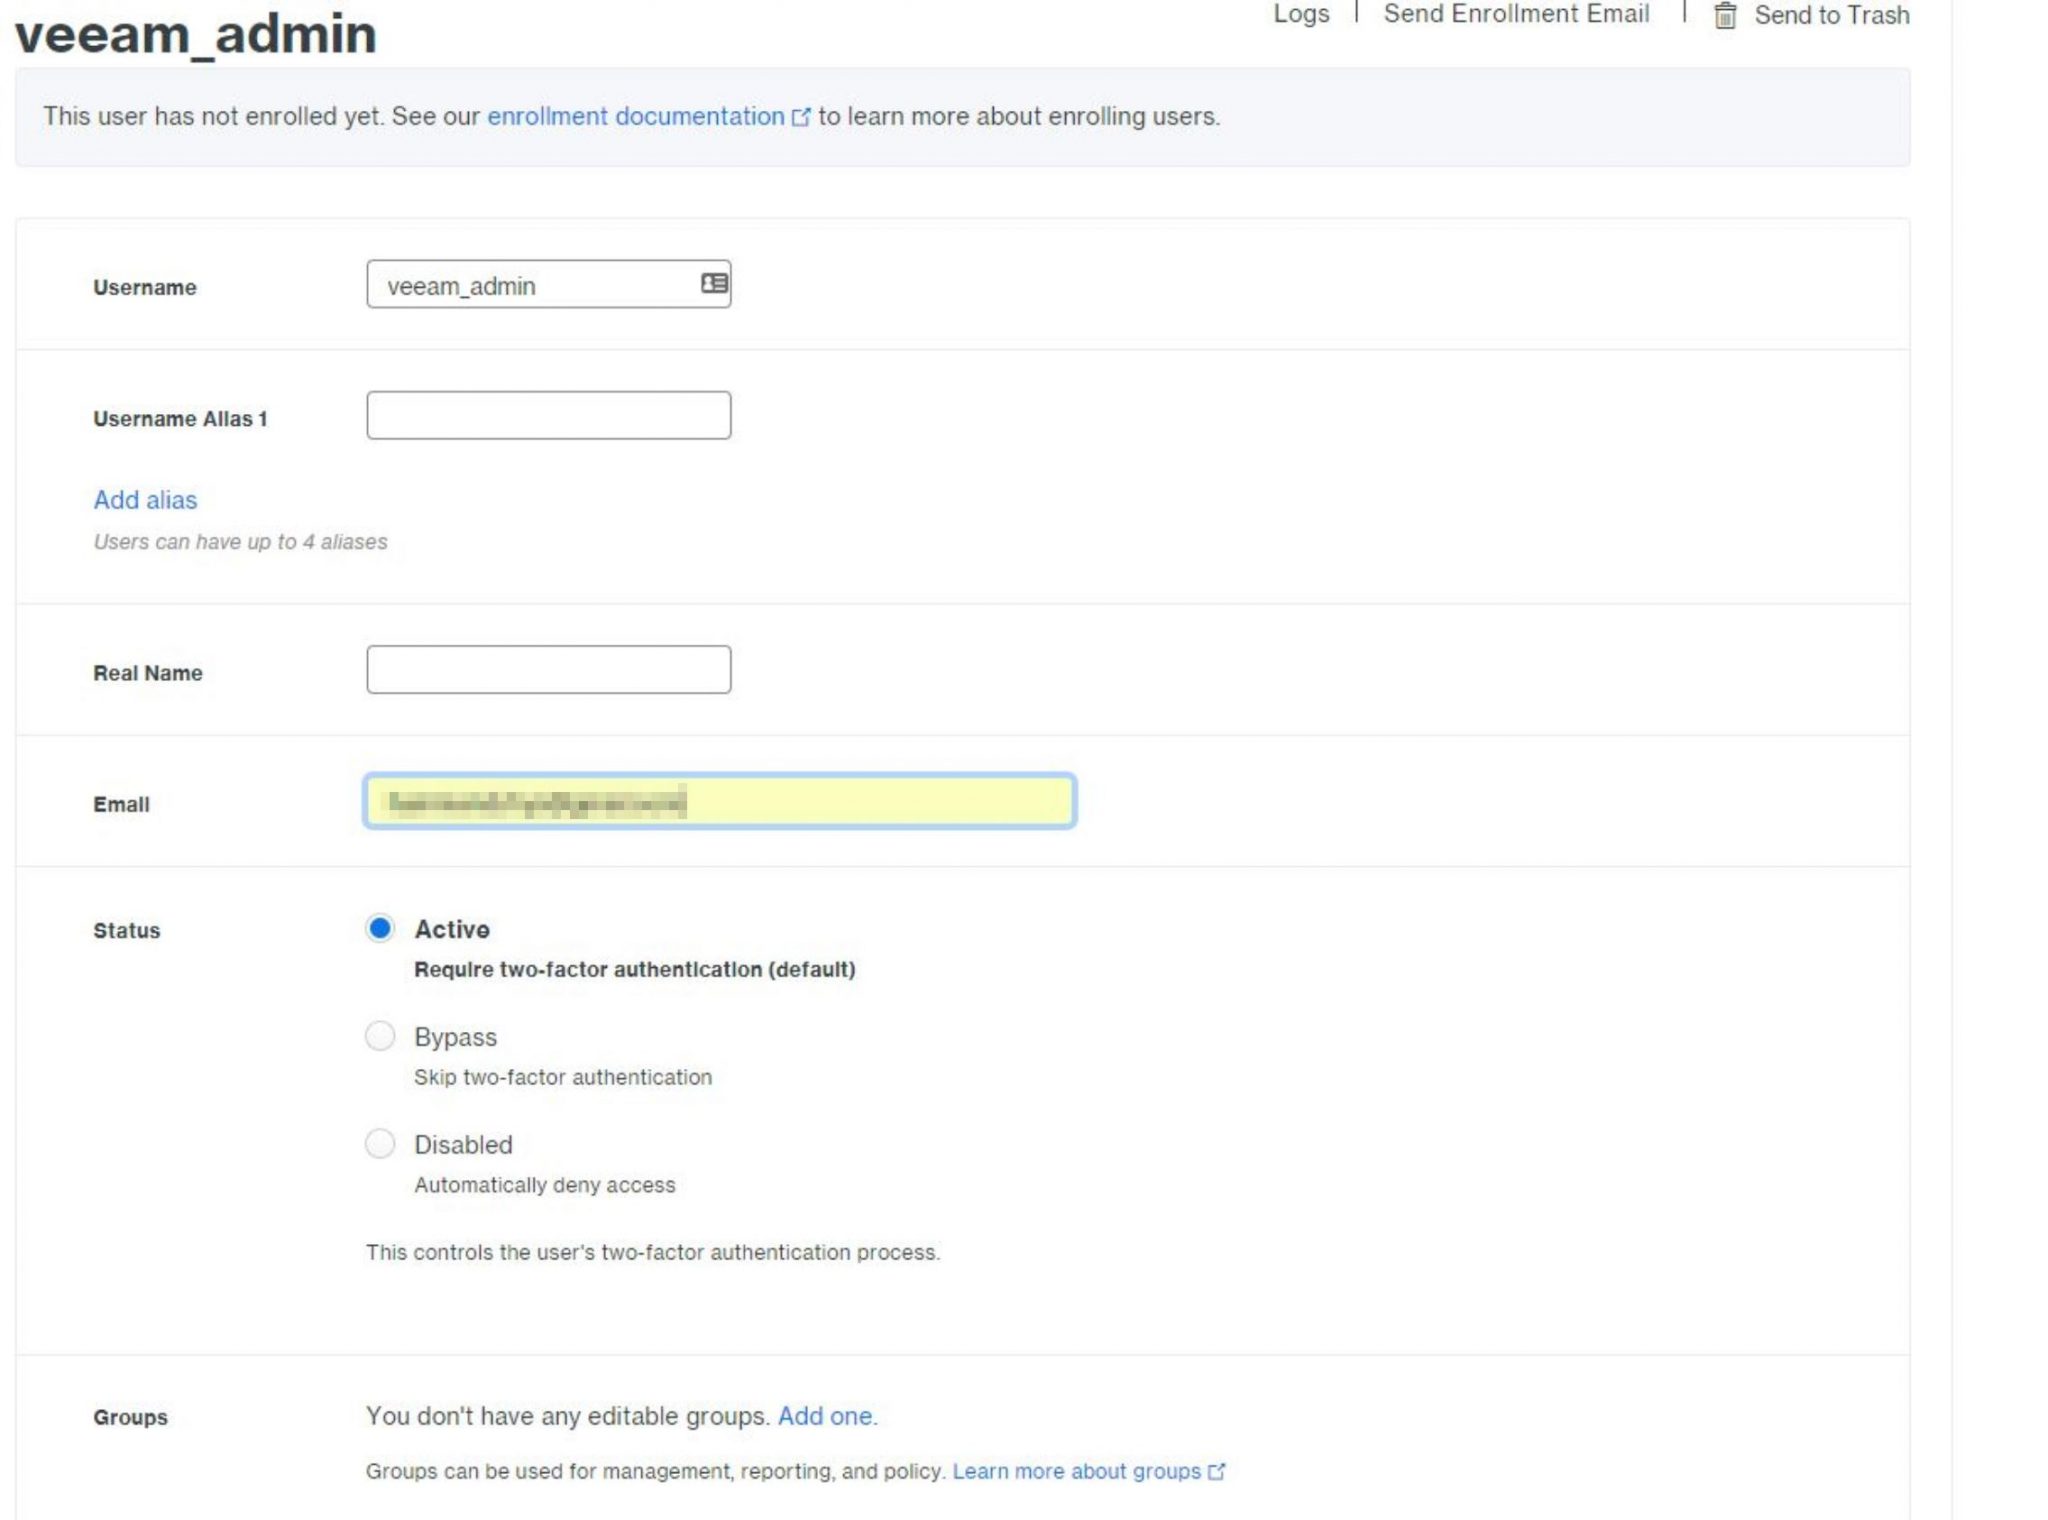
The email address specified during user creation will be sent an enrollment email from Duo, a unique link will be in the email which is used to start enrollment for the device that the user wishes to utilise for 2FA, this could be a phone, tablet, or another supported device.
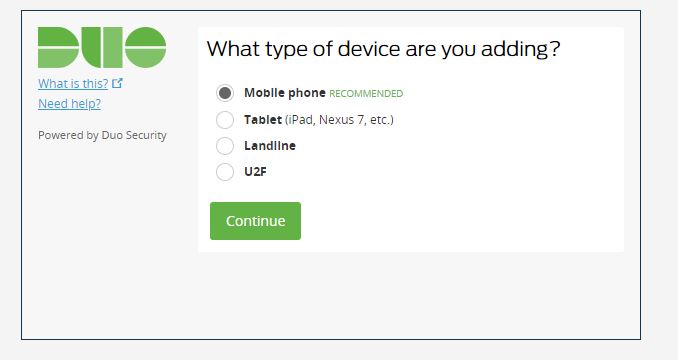
Clicking on the link in the email starts the device registration process. In my case, I was registering my mobile phone as the device.
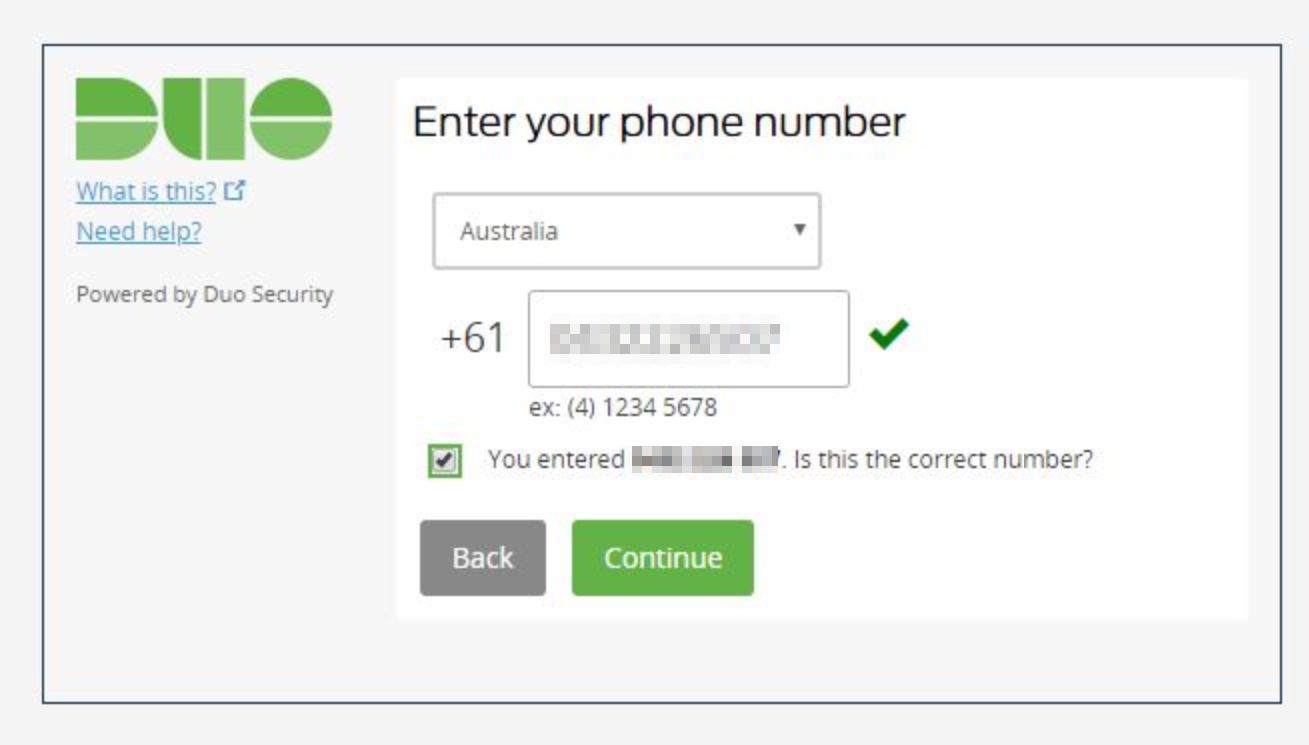
We enter our users mobile phone number.
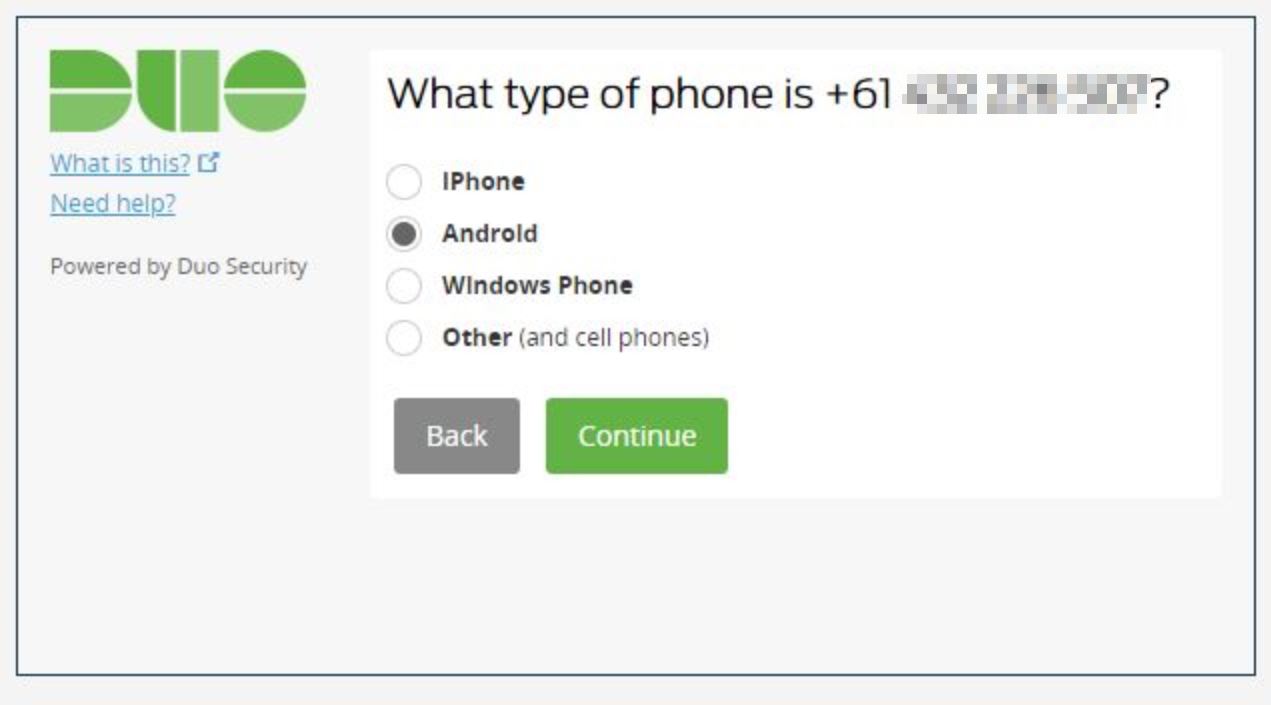
We confirm the type of phone being used. In my case, an Android.
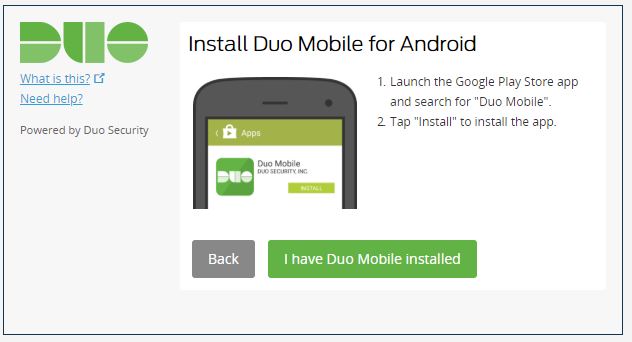
Duo wants us to install the Duo Mobile for Android app, in my case I already had it installed.
Another QR code is displayed, at this stage we simply open the Duo Mobile app from our users phone, click the + symbol in the top right and register via the QR code.

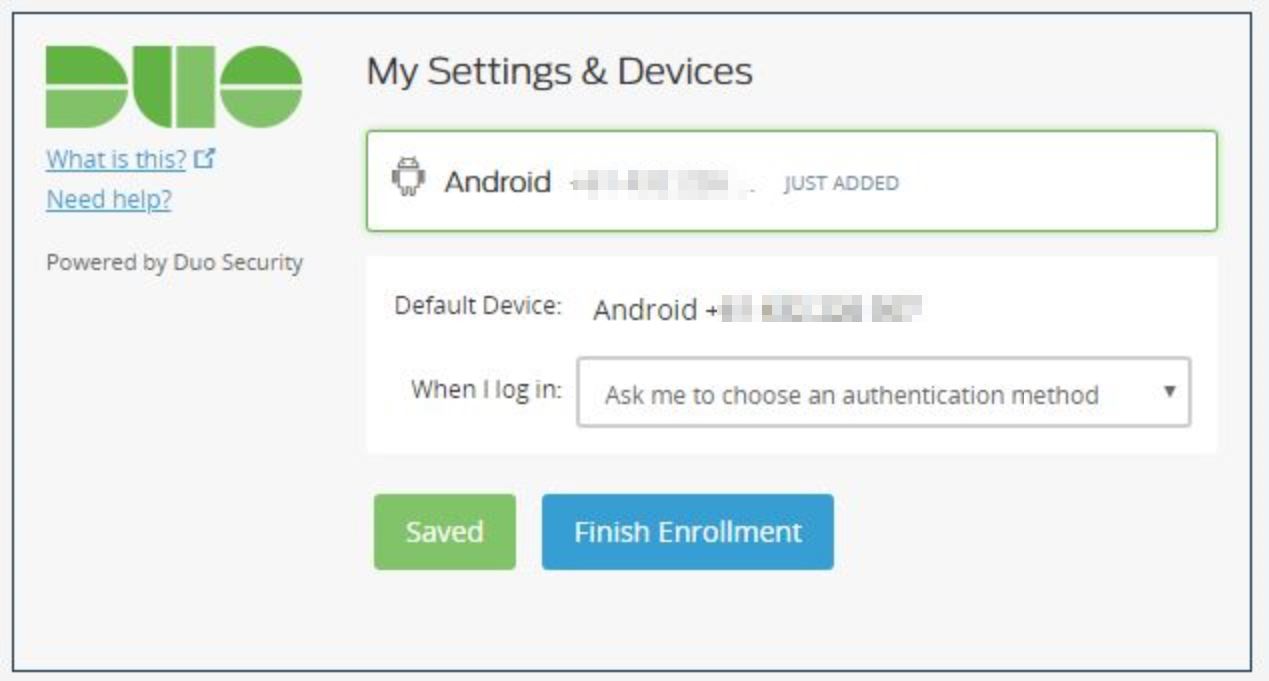
Congratulations, we have just enrolled our first user and their 2FA device.
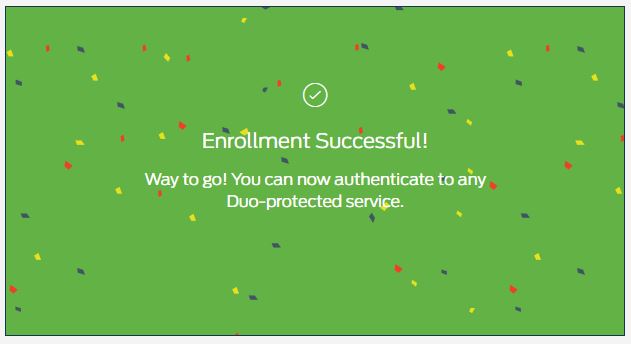
Congratulations, we have now configured 2FA for any logons to our Veeam server.

Wonderful ! Perfectly working on Repository server.
However, I wonder what would happen if I install DUO on a VM that is bound to be processed by Veeam?
Will the Backup or Replica jobs fail because Veeam cannot log to the processed VM’s?
My tests show that installing DUO on protected Windows VM’s does not pose any problem : Veeam Backup and Replication is still able to create Backup and Replicas for these VM’s 🙂